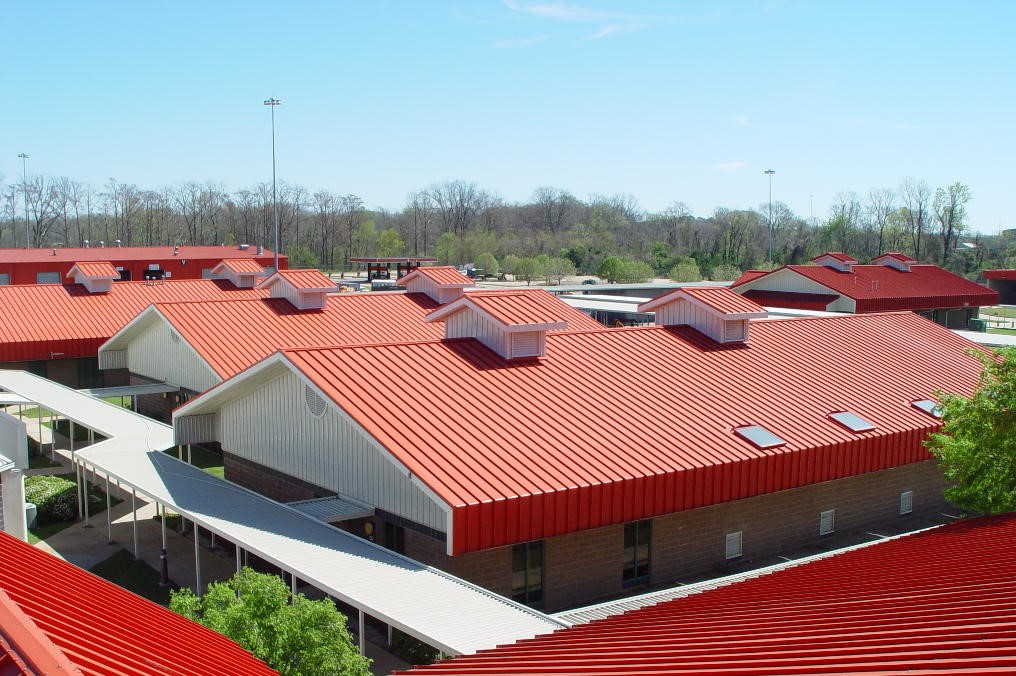
How to Retrofit Existing Roofs with New Metal Roofing Systems

In our prior blog post, Benefits of Roofing Retrofits with Metal Roofing Systems, we looked at the benefits associated with retrofitting an existing building with a new metal roofing system. In this discussion, we will look at several ways to do it.

New Sloped Roof Over an Existing Flat Roof

Buildings with flat roofs can be retrofitted with light-gauge steel framing systems to create a new sloped metal roof. Such systems can be installed directly over existing roofing membranes and structures, subject to appropriate structural engineering review. These systems typically use light-gauge (16 gauge to 12 gauge) steel framing installed directly above the existing roof to create a sloped plane. Regardless whether the existing roof structure is steel, wood or concrete, the new, lightweight framing system can be designed to disperse roof loading appropriately and connect securely.

The physical footprint of the existing roof, the type of framing system employed, and any special rooftop conditions will typically control the final geometry of the new sloped roof. A low-slope application (less than 2:12) can be selected based on economy and configured to discharge rainwater off of the roof. High-slope applications (greater than 2:12) are typically selected to improve and update the look of an existing building while improving long-term performance. Once the metal framing system is in place, then standing seam metal roof panels are commonly installed, creating a ventilated attic space in the process.

Retrofit Roofing Panels

Low-slope metal roofing can be a great choice when a fairly utilitarian solution is needed for improving overall roofing performance. Exposed fastener systems can be used to allow direct installation of the new roofing panels over existing metal roofing or some other materials. Roofing panels specifically designed for retrofit applications typically have a rib spacing of 12″ on center with a rib height of just over an inch. The minimum slope for such a panel is 1/2:12. Any existing lap screws must be removed from the existing roof before the new panels are installed. The new retrofit panels are then attached with screws that fasten through the existing panel major ribs and into the existing purlins.

A New Standing Seam Roof

In some cases, an existing sloped roof may have another roofing material in place that is nearing the end of its service life. In that case, a new long-lasting, standing seam metal roofing system can be installed directly over the existing roof. Some systems will require a simple sub-framing system that allows the new roof to be installed directly over the existing. Retrofit roofing systems such as this can be UL-90 rated and FM Global rated. Other strategies exist to increase the energy efficiency of the building when adding new standing seam roofing, such as adding unfaced fiberglass insulated between the existing and the new roof and to vent the cavity between the old and new roofs by adding vent strips at the eaves, plus a vented ridge to allow air intake and exhaust. This method works well with roof slopes of 3:12 or greater.
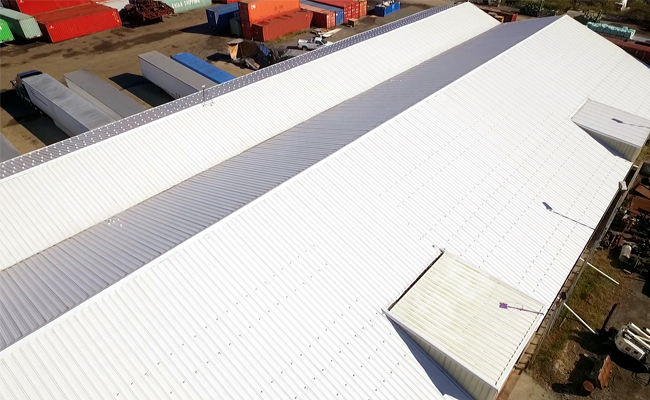
Retrofit
OST Trucking Co. featuring Retro-R® metal panels in Polar White.

End Results

Regardless of the specific system selected and designed, installing a retrofit metal roofing system allows the existing roof to remain in place, which saves on labor costs. It also minimizes the chance for water entry into the building during the roofing process and provides for a safer working environment. Existing rooftop equipment, vents, or light-transmitting panels can be accommodated by any of the systems described.

According to the Metal Construction Association (MCA), “retrofit metal roofing represents an economical and functional solution for building owners who want to beautify their existing structure or correct performance issues related to aging roofs and out-of-date materials. They have been employed in millions of square feet of existing commercial, industrial, retail and education facilities. The result is a new code-compliant metal roof that will last for 60-plus years, providing higher energy efficiency by reducing heat gain through the roof in summer months and reducing heat loss during winter months.”

To find out more about these retrofit systems, contact your local MBCI representative.
Hip Roof vs. Gable Roof: What to Consider & How to Choose

Metal roofing is a great option for both residential and commercial structures, but beyond just choosing panel type, roof shape options also come into play. Among the most common roof styles in the U.S are a gable and a hip style.

Here we’ll take a quick look at these two distinct styles, explaining key features and differences, and identifying reasons you might want to consider one over the other for a given metal roofing project, depending on your performance or structural needs as well as aesthetic preferences.

Hip Roof

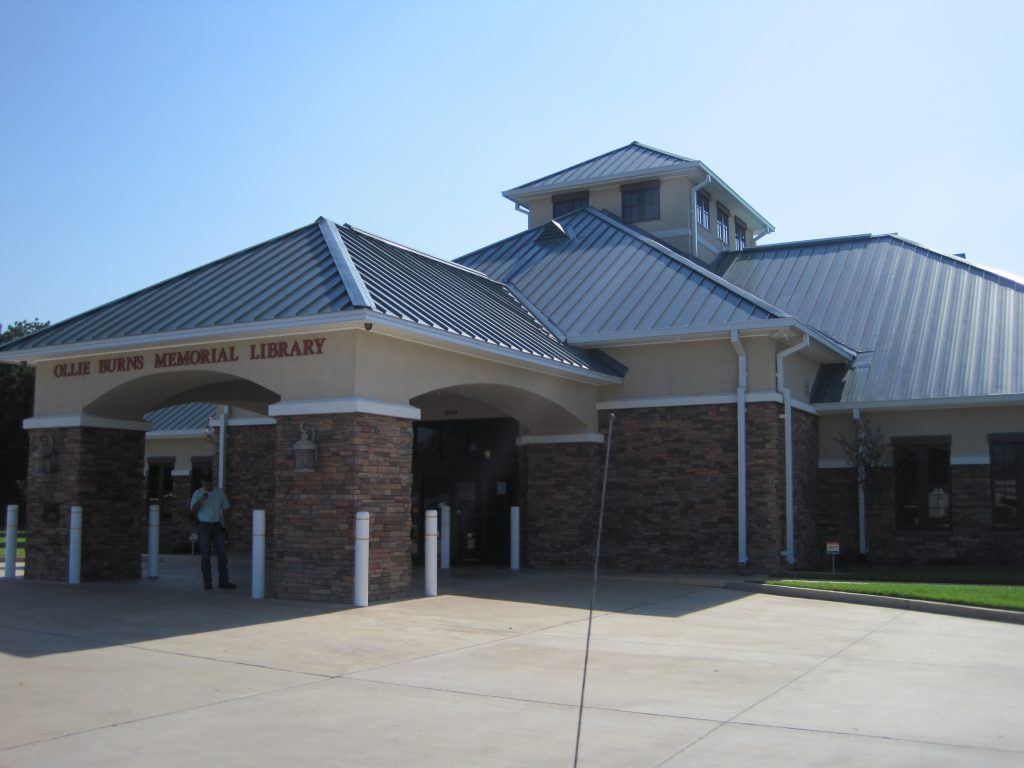
A hip roof can easily be identified by the fact in most cases it has slopes of equal length on all four sides, which come together at the top to form the ridge. In many cases, two sides form a triangle shape and the other two sides form a trapezoid shape (e.g., a pyramid shape). A hip roof does not have any vertical ends.

Hip 3

Among the key advantages of hip roofs are they:
• provide greater stability and are more durable than gable roofs due to the inward slope of all four sides.
• do well in areas prone to high wind and rain.
• are typically seen with lower roof slopes.
• allow for more appealing roof lines to be achieved.
Note: For high wind or strong storm-prone areas, proper engineering design, construction and roof system maintenance are especially critical in order to prevent major problems.

Gable Roof

Marked by two sloping sides that come together at a ridge, which creates end walls with a triangular extension, a gable roof, also known as a pitched or peaked roof, is easy to spot with its iconic pointed shape.

Gable 1

Among the key advantages of gable roofs are they:
• easily shed water and snow; there is nowhere for water to pool.
• provide more space for an attic or vaulted ceilings.
• allow for more air ventilation.
• are easier and more affordable to build than more complex designs as they need less building materials.
Note: It is recommended to use a steeper slope, for snowy regions.

Breaking Down the Key Considerations

Aesthetics: What architectural look are you trying to achieve? For instance, with more industrial architecture, trapezoidal panels are more common and therefore, a gable roof is a likely choice. In residential situations, where there are more hips and valleys, a hip roof may be a good option.

Building shape may play a role in why you would select a type of roof. If you have a change in building direction, such as an angle, (like an L-shaped building), that’s going to automatically create a valley and a hip on the other side. In this case, you may want to keep that appearance uniform, so you’d put a hip on each end of the building as well.

Also, are you trying to cover up equipment on top of a roof? If so, height differences might play into your decision.

Wind Pressures: On a hip roof, you may have lower wind pressures versus the gable, especially at the corners.

Labor and Materials Cost: The more cost-effective choice would be gable; it is the least costly to install because you’re going to have less material to fabricate a gable roof frame and less waste than with a hip roof. A hip roof is going to utilize more material and more labor because you are going to have more cuts involved.

Panel Profiles: The profile of the panel you’re going with can affect the roof shape choice. For example, for a trapezoidal panel, a gable roof would be a lot simpler to install. Less cutting of the panels is involved and will be easier to seal off the ends of the panels. With a vertical rib or flat pan style panel, it is easier to install on a hip roof application.

Slopes: In general, gable roofs are more likely to be found on lower sloped roofs (less than 3:12) where there are fewer valleys, etc. and therefore, less complicated. Hip roofs, on the other hand, will usually have additional conditions going into them. Valley conditions require a minimum of 3:12 slopes.

In Summary…

When looking at hip roof versus gable, there are obviously a host of factors that will go into that decision. To summarize the differences:

Hip roofs have four faces, are pyramid shaped, and are more complicated to build. They are shown to have higher wind force values. Upfront costs of hip roofs are greater.

Gable roofs have two faces, are triangular in shape, and are easier to build. Upfront costs are lower.

In many cases, it should be noted, most roofs feature numerous details and can include both hip and gable roofing.

To learn more about hip and gable roofs for your next metal building panel project, contact your MBCI local sales representative.

Structural Penetrations in Standing Seam Metal Roofs

In our prior post on “Pipe Penetrations in Standing Seam Metal Roofs,” we identified important guidelines for when pipe penetrations are made to metal roofing systems, typically after the metal roofing is installed. That means an opening is cut in the metal roofing, it is properly flashed or sealed, and the penetrating member is passed through it. However, some penetrations are already in place before the roofing contractor shows up. These can be things like vertical members resting on the building structure that support a platform for HVAC equipment above the sloped roof. Or, it can be parapet wall with offsets or other conditions that are already in place. In cases like this, a different approach is needed to assure that the roof remains watertight.

Equipment Platforms for Structural Penetrations

Penetrations
Structural Penetrations in Standing Seam Metal Roofs

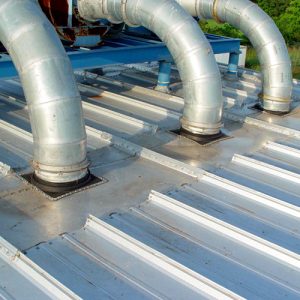
From the standpoint of a roofer, a structural equipment platform is a pre-existing condition. The metal roofing industry already recognizes the need to address such situations, particularly on existing buildings, by offering retrofit flashing and curb products. The same, proven approach can be used when pre-existing conditions are encountered on new buildings as well. For example, when structural posts for equipment platforms are encountered running up through the roof plane, roof jacks and curbs specifically designed for retrofit applications should be used. The retrofit roof jack, or boot, should be made out of rubber and be designed to install around the penetration, rather than over it. The boot should ideally rest on a two-piece retrofit pipe curb which can span across one or more standing seams and create a smooth, flat surface for the boot to be attached and sealed. The two-piece design allows for the pipe curb to be properly shingled on the up slope and down slope side of the roofing, thus preventing a “backwater lap,” which will leak. Trying to use only products intended for new construction on such conditions will require unwarranted field modifications or an over-reliance on caulking and sealant, all of which can be prone to problems and failure of the watertight abilities of the roofing.

Parapets

The use of parapet walls around some or all of a perimeter of a building is a common condition. However, if the building shape varies, and the parapet along with it, then there may be some rather uncommon conditions in which the roofing meets an offset or irregularly shaped parapet walls. The issue is that water coming down the sloped roof runs into the offset or other obstruction, causing a buildup of water and a potential leak. The typical approach is to provide a cricket, which is flashed into the parapet wall and diverts water away from the corner created by the offset. It is important, in this case, to be aware that standard sheet metal crickets have not proven to be effective. Instead, welded aluminum crickets and fixtures are recommended to create a truly watertight seal. Also, the welded cricket can be “shingled” into the roof to prevent “backwater laps.” The key is to provide a complete seal at the corners by welding the material, which cannot be done with sheet metal crickets.

Design Planning

The best way to address all of the structural roof penetration issues described here is with proper upfront planning. Avoiding any of these conditions would of course be ideal, and perhaps they can be designed out of some projects. However, if they’re unavoidable, then the roofing contractor and the design professionals need to review the conditions together ahead of time. This advance design planning is the best way to assure that the best, most effective detailing is employed and the proper materials are available on site.

Find a sales representative